
Installing Your First Server
Step-by-step Guide (ASM v0.9.1)
AASM v0.9.1 uses a guided New Server Installation wizard that handles SteamCMD, server naming, and the install location in one flow on Windows and Linux.
Allow roughly 30–45 minutes end-to-end; download time depends on your connection. On Linux, AASM runs natively while the ASA server binary runs through Proton/Wine; complete the Linux prerequisites first.
Open the New Server Installation Wizard
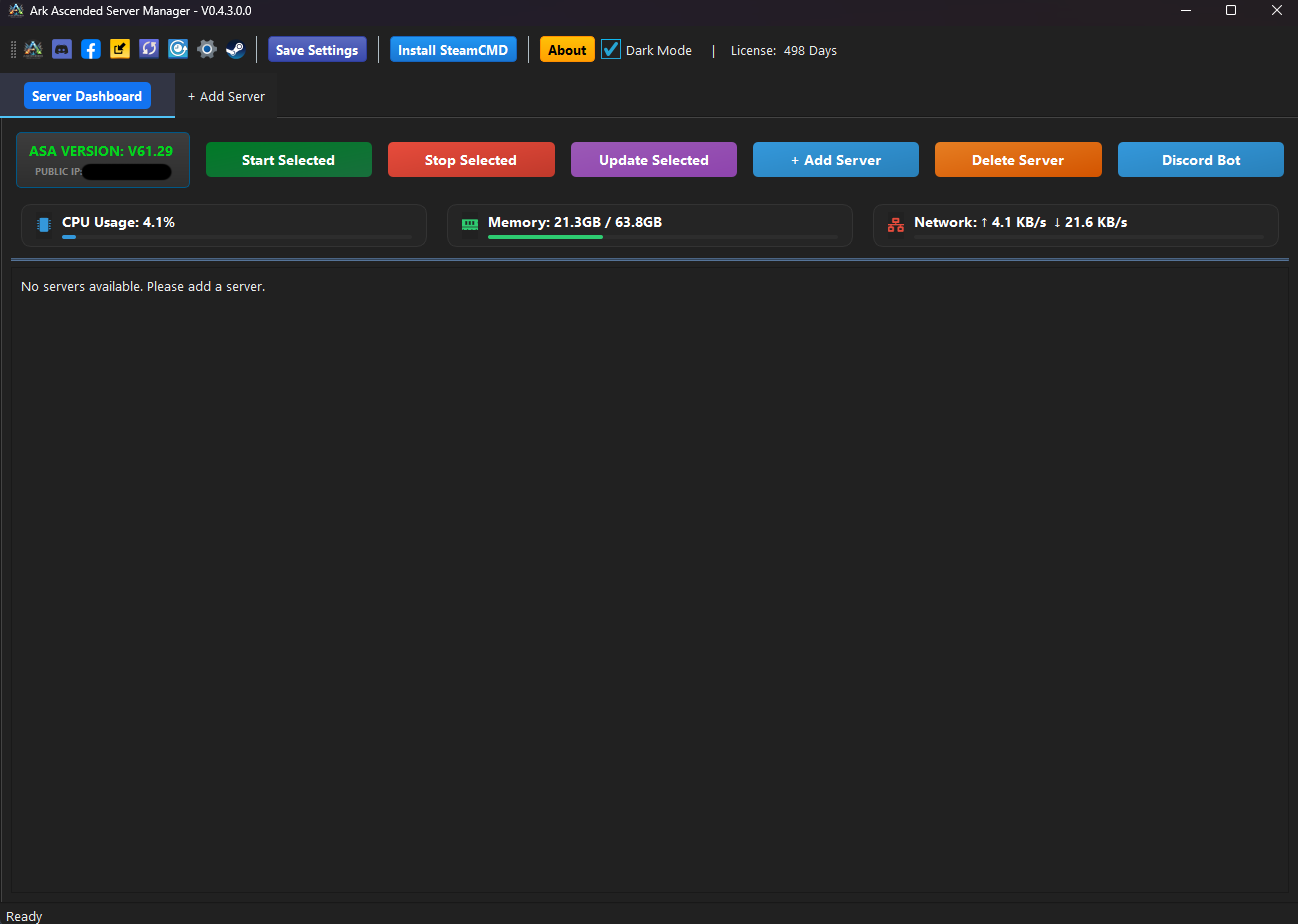
When you first launch ARK Ascended Server Manager, the dashboard greets you with "No servers configured" and a single prominent action: a large green ADD NEW SERVER button in the centre of the page. (You can also add servers later from the icon in the top toolbar.)
Click ADD NEW SERVER to open the setup dialog.
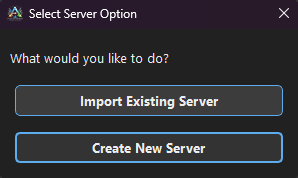
Choose “Install New Server”
A dialog titled Add New ARK Server — Choose Your Setup Method appears with two options:
For your very first server, click Install New Server (Recommended) — it handles SteamCMD setup automatically.
Name Your Server
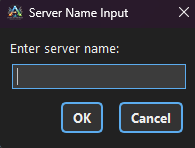
The New Server Installation wizard opens. Step 1 (Server Configuration) asks for two fields:
Production or Test.
The Server Name is internal to ASM — it does not set the public SessionName shown to players in the ARK server browser. You'll configure that later on the server's Server Settings tab.
Click NEXT to continue.
Set Up SteamCMD and Choose an Install Location
Wizard step 2 (Installation Setup) has three sections:
SteamCMD Status
If SteamCMD isn't installed yet you'll see “SteamCMD needs to be installed” with a blue Install SteamCMD button. Click it and wait — this is a small download (~10 MB) that finishes in seconds. When it succeeds you'll see “SteamCMD is installed and ready”.
Installation Parent Directory
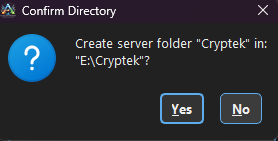
Click BROWSE to pick a parent folder (or type the path directly). ASM will create a new sub-folder named after your server inside it. For example, if you choose F:\Ark Servers and named your server My ARK Server, the files land in F:\Ark Servers\My_ARK_Server.
Installation Options
Leave Validate downloaded files ticked (recommended) so SteamCMD verifies integrity after the download. It takes a little longer but catches partial-download corruption.
Storage requirements: at least 60 GB of free space on the chosen drive. An SSD is recommended for best server performance.

Start the Installation
Once SteamCMD is ready and you've chosen an install directory, ASM shows a green confirmation card with the full server path (e.g. F:\Ark Servers\My_ARK_Server) and the START INSTALLATION button lights up green.
The ARK server files are roughly 12 GB. On a 100 Mbps connection plan for around 20–30 minutes; on a gigabit link it usually finishes in under 5 minutes.
Review Settings and Start Your Server
Once installation completes, your new server appears as a tab next to Dashboard. Each server card on the dashboard shows the map, mode, ARK build version, status, and a row of action buttons (Start, Stop, Restart, Update, Folder, Manage).
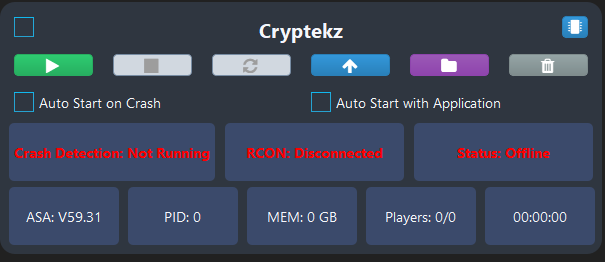
Click the server's tab to open its dedicated configuration page. The Server Settings sub-tab is selected by default and exposes the core fields you'll usually want to set before launching for the first time:
TheIsland_WP. Change to any official or mod map.
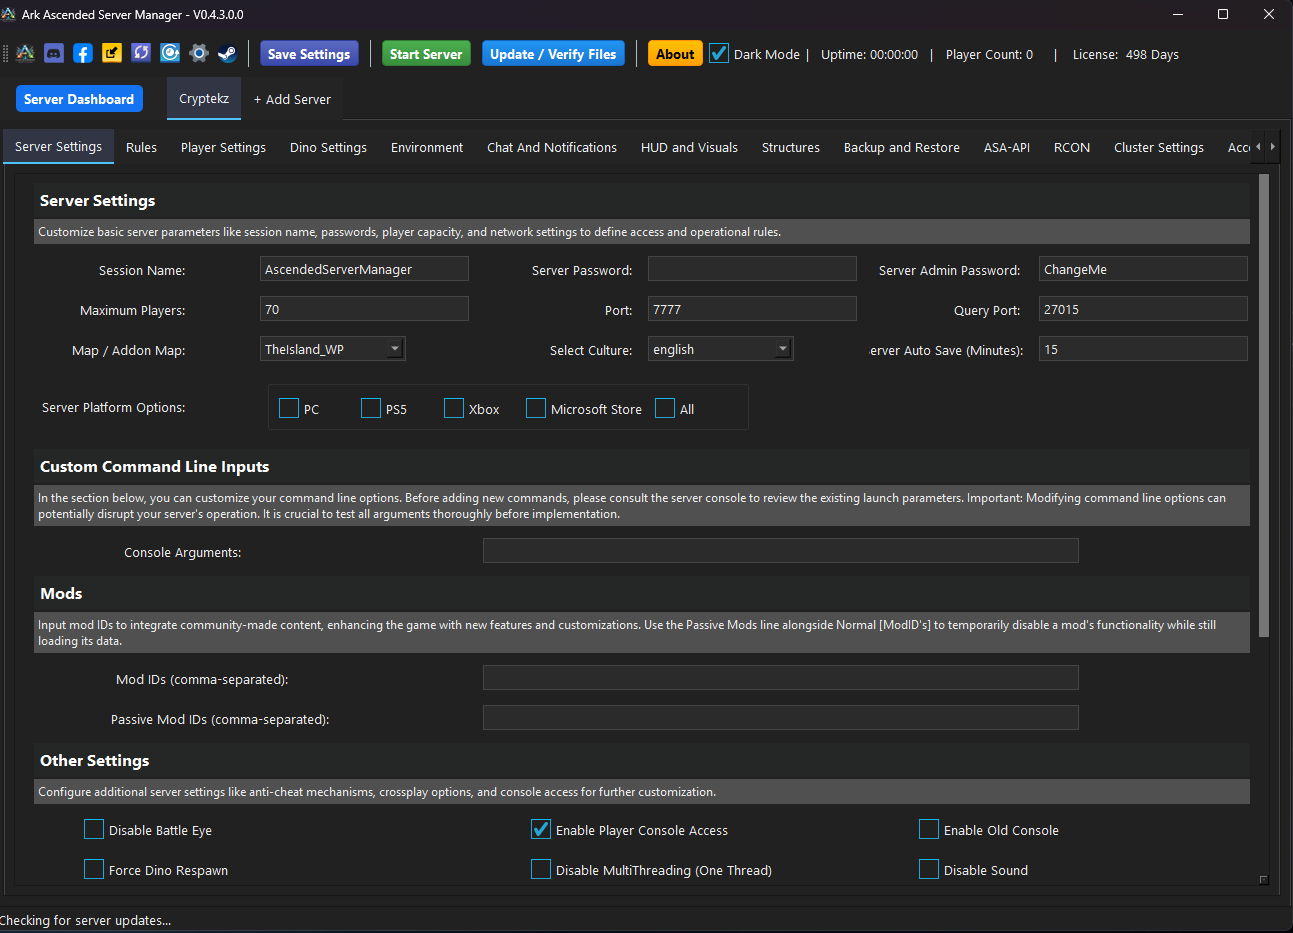
When you're happy with the settings, click Confirm Saved in the top-right of the server tab to write them to GameUserSettings.ini, then hit the green Start button at the top of the tab (or on the dashboard card) to launch your server.
The status indicator changes from STOPPED to STARTING and then ONLINE once the ARK process is up and accepting connections.

Congratulations!
You've installed and launched your first ARK: Survival Ascended server using ASM. From here you can customise gameplay rules, add mods, schedule maintenance, and connect a Discord bot for monitoring.