Importing Your Existing Server
Step-by-step Migration Guide (ASM v0.9.1)
If you already have an ARK: Survival Ascended server installed — from a previous tool, a manual SteamCMD install, or a copy from another machine — you can bring it under AASM management. The Import flow reads the existing GameUserSettings.ini and Game.ini, so ports, passwords and game settings carry over without re-entry.
You don't need SteamCMD installed first — importing only reads the existing folder. For a Windows-to-Linux move, follow the dedicated migration guide so paths and permissions are converted correctly.
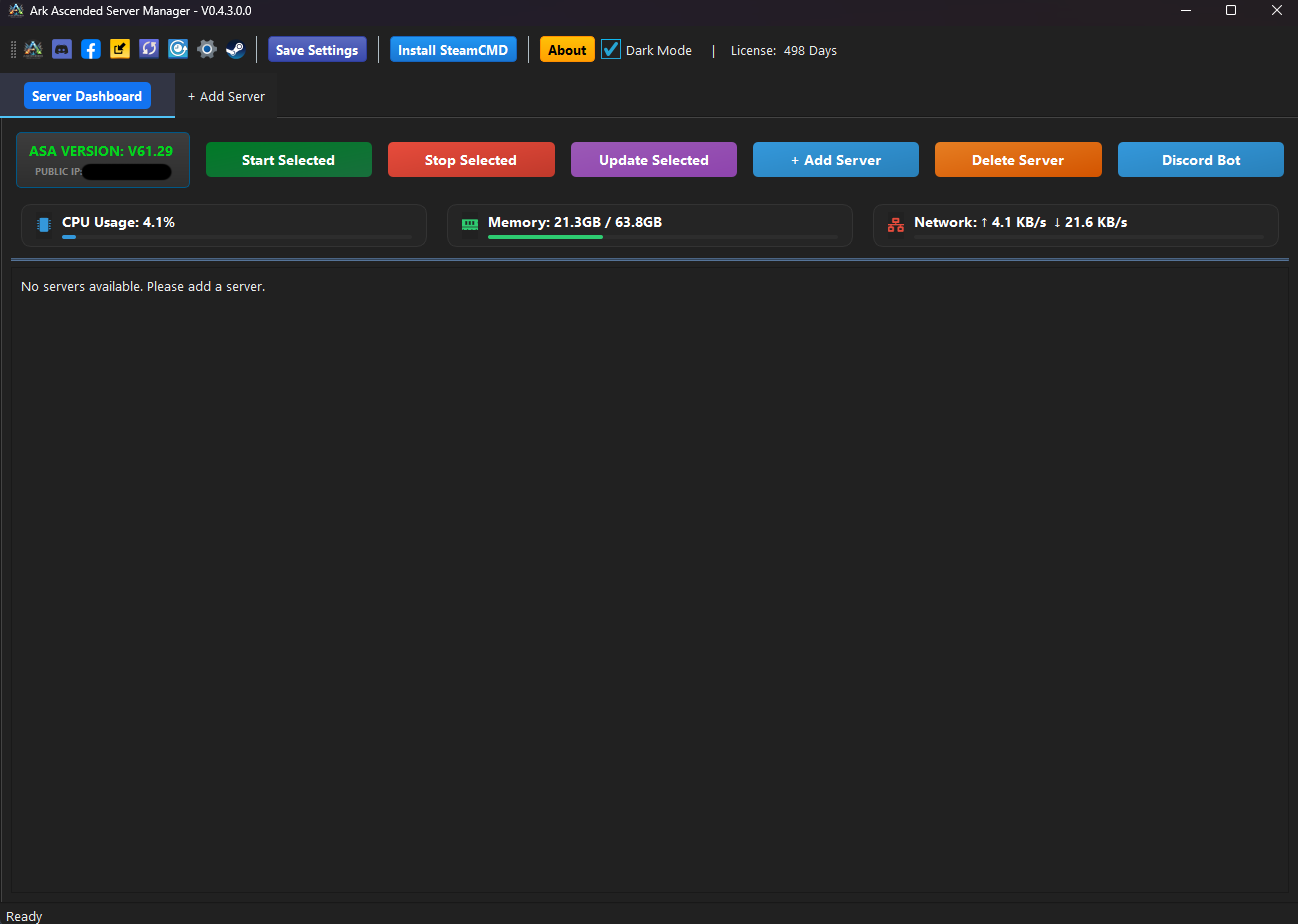
Open the Add Server Dialog
From the empty dashboard, click the large green ADD NEW SERVER button. (If you already have other servers, click the icon in the top toolbar instead.)
Targeted close-up of the button:

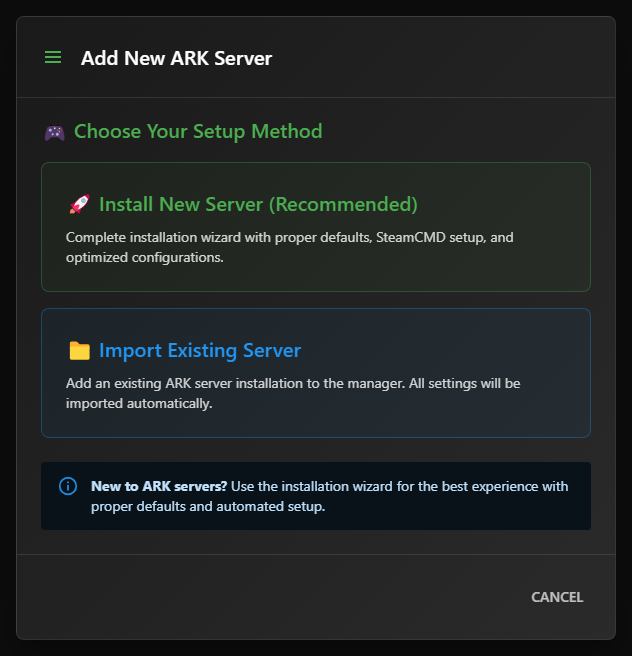
Pick “Import Existing Server”
The Add New ARK Server — Choose Your Setup Method dialog shows two cards. Click the blue Import Existing Server card on the bottom.
Use this option whenever you have an existing ARK server folder on disk — even if it was installed by another tool or copied from another machine.
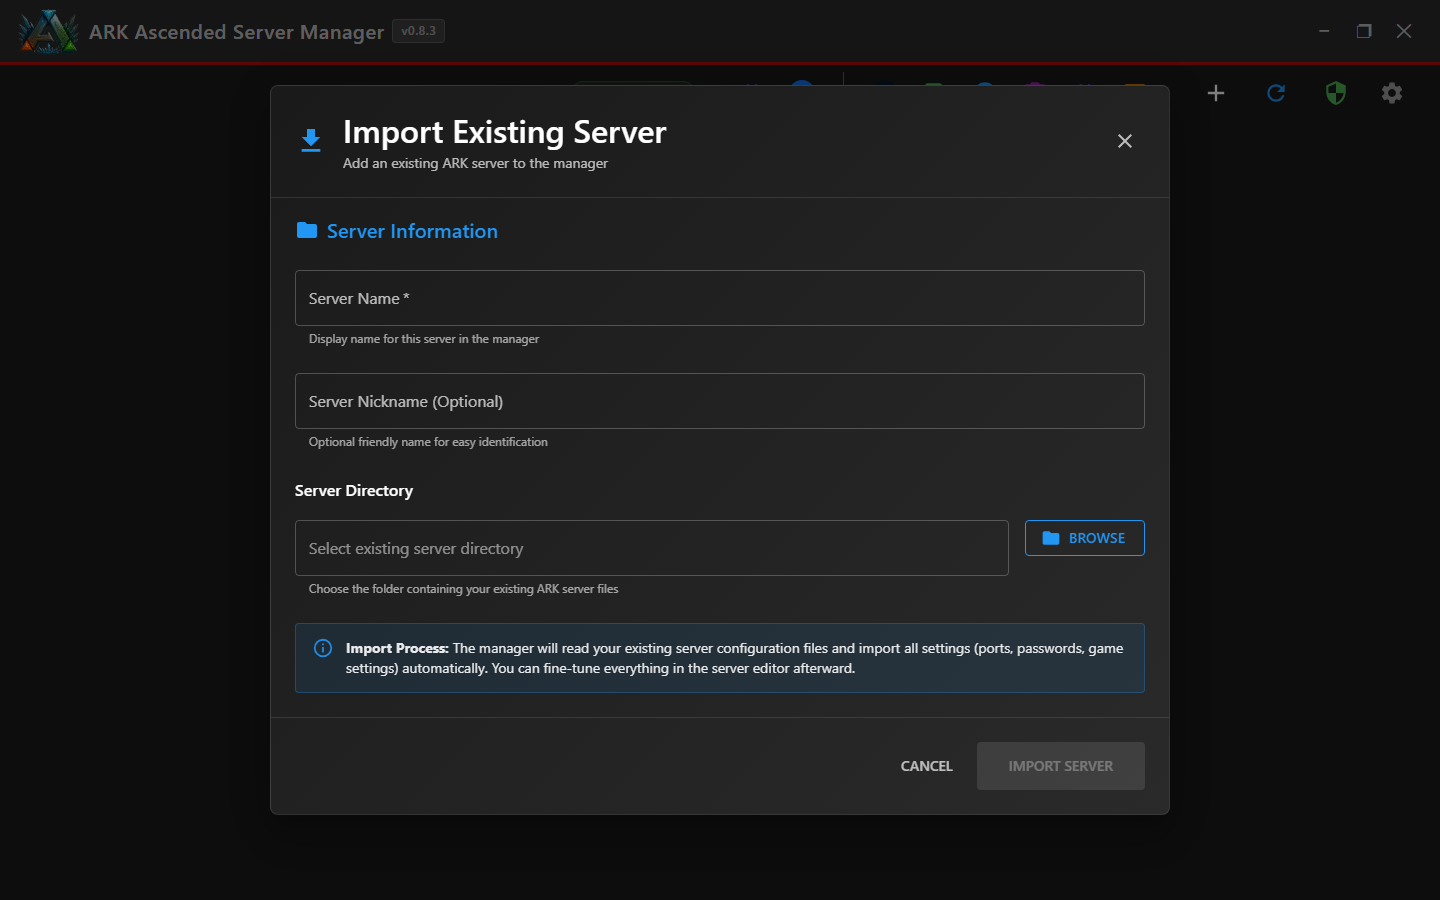
Fill In Server Name and Folder
The Import Existing Server dialog opens with three fields:
The BROWSE button:

Important: Pick the server's root folder — the one that contains the ShooterGame subfolder and the steamapps manifest files. Do NOT pick a sub-folder like ShooterGame or Saved.
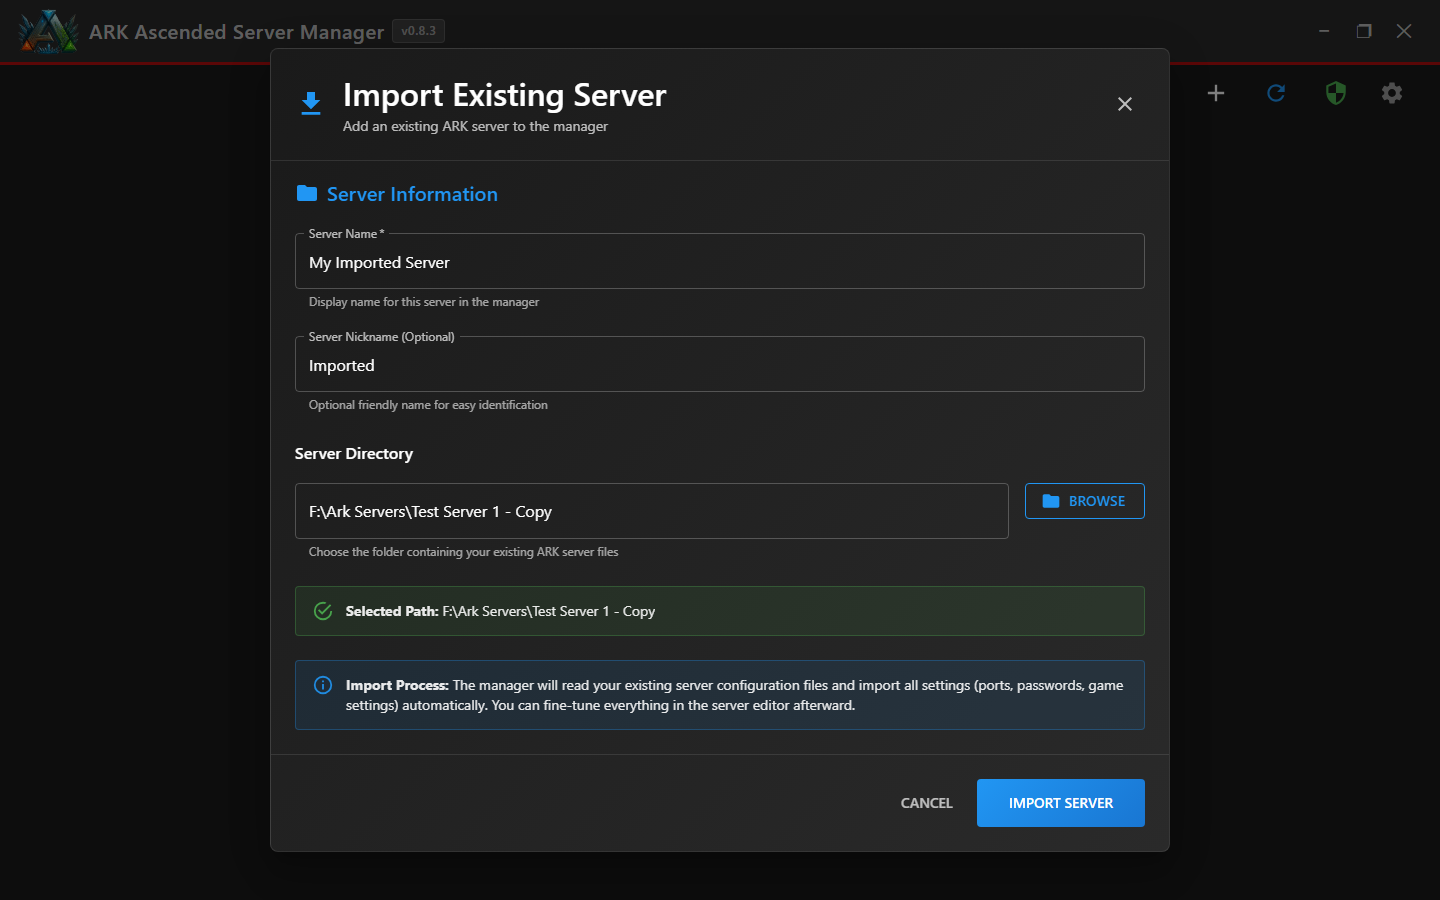
Confirm and Import
Once you pick a folder a green Selected Path banner appears below the directory field showing the chosen location. Review it — this is the folder ASM will read configuration from and the one all future Manage / Update / Backup operations will act on.
Selected path confirmation banner:

When everything looks correct, click the blue IMPORT SERVER button in the dialog footer.
The IMPORT SERVER button:

Import usually completes quickly because AASM reads the configuration files without downloading or moving the server files.
Start Your Imported Server
Your imported server appears on the dashboard with all its settings already populated — map, mode, ports, ARK build version, and the full action button row (Start, Stop, Restart, Update, Folder, Manage).
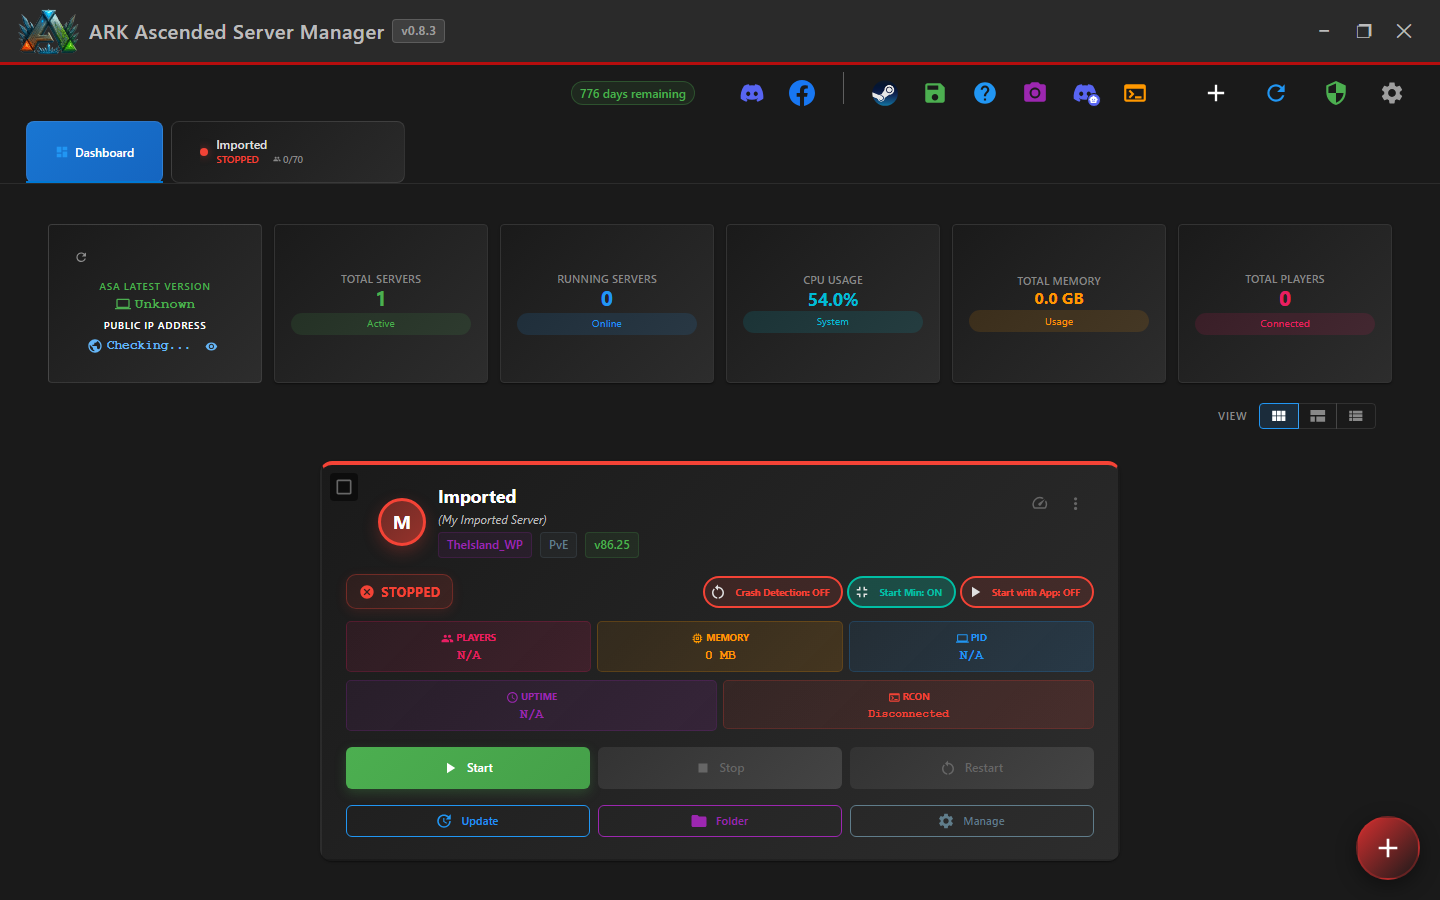
Click the green Start button to launch the server. A separate ARK console window will open — the dashboard status indicator changes from STOPPED to STARTING and then ONLINE once players can connect.
The Start button on the dashboard card:

You can also click the server's tab next to Dashboard to access the full Server Settings page and fine-tune anything before starting.
Import Complete!
Your existing server is now under ARK Ascended Server Manager. From here you can update it, schedule restarts, configure backups, and wire it into a cluster — same toolkit as a freshly installed server.